Hi Mr. Food Test Kitchen fans! I’m Alex, the newest addition to the Test Kitchen team. I’m spending this summer interning at the office before heading off to college in the fall. I’m so excited to help out! I’ve been learning so much about the Test Kitchen and about cooking, and I’ve even picked up a few recipes of my own!
Anyone who knows me knows that I really, really like KIT KAT® bars. They’re my absolute favorite candy bars. Seriously, I’ve been known to polish off entire bags of those milk-chocolate wafer candies. Last Halloween, my dad joked that I was going to turn into one of those candy bars if I didn’t slow down.
Considering that it’s National Candy Month, I think it’s definitely time to take a break and indulge, which is why I’m sharing a copycat version of my favorite candy. These homemade “Gimme-A-Break Bars” are made with just three ingredients and only require 10 minutes of work!
Gimme-A-Break Bars

Step One: Gather your ingredients. I can promise you won’t be making more than one trip to the cabinet. All you need to make a basic version are vanilla wafer cookies and dark chocolate melting wafers.
Image may be NSFW.
Clik here to view.
I wanted to give mine a little something to set it apart from the typical wafer bar, so I pulled some white chocolate out of the Test Kitchen cabinet. A drizzle of white chocolate is the perfect thing to make this copycat recipe unique. It makes it pretty, too!
Image may be NSFW.
Clik here to view.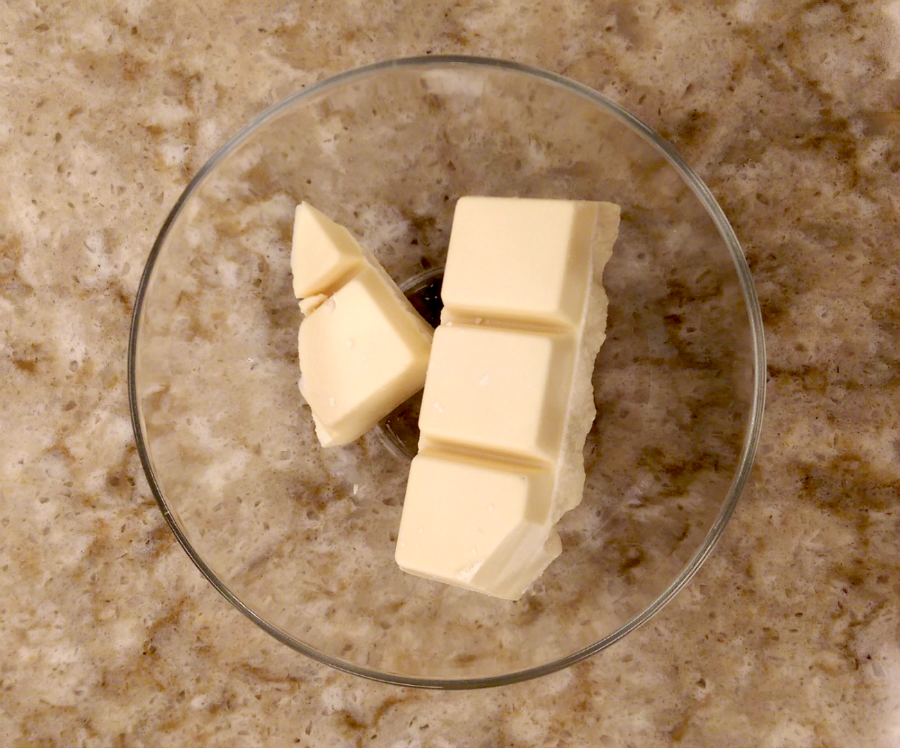
Step Two: Line a baking sheet with parchment paper. When you’re ready to move your candy onto a plate, the paper will make it super simple to pop ‘em off the sheet.
Image may be NSFW.
Clik here to view.
Step Three: Assemble your wafer cookies on the baking sheet. The wafer cookies I had were too thick for my liking so I cut them in half to get it to look more like the store-bought kind.
Image may be NSFW.
Clik here to view.
Step Four: Microwave the dark chocolate for 60 seconds, then stir. If your chocolate isn’t melty yet, continue to microwave for 10 seconds at a time. Remember to stir in-between melting sessions to get everything nice and smooth.
Image may be NSFW.
Clik here to view.
30 seconds ‘til chocolatey goodness!
Step Five: Time to start dipping! Toss each wafer into the chocolate, coating them until they’re drenched. Lift with a fork, allow the excess to drain off, and place on the baking sheet.
Image may be NSFW.
Clik here to view.
Eventually, you should have something that looks like this:
Image may be NSFW.
Clik here to view.
It’s okay if it looks a little messy; we’ll trim off the edges later!
Step Six: Put the candy bars into the fridge so the chocolate can set. As you can see in my photo (above), the chocolate had already started to harden by the time I slid them into the fridge; this is a super-quick recipe, especially for those last-minute occasions.
Once they’re out of the fridge, trim the edges to make them look clean.
Image may be NSFW.
Clik here to view.
If you’re eager to chow down, you can stop here, but if you like my idea of adding white chocolate, keep reading!
Step Seven (optional): If you’ve ever iced a cake, you know what’s coming. Melt your white chocolate and scoop it into a resealable plastic bag. After that, all you have to do is seal the bag and twist it. Snip off a corner and voila -you’ve created a piping bag!
Image may be NSFW.
Clik here to view.
If you’ve got small candymakers running around, this is a great step for them to help out with. All you have to do is drizzle the white chocolate over the bars to get that gourmet candy look.
Image may be NSFW.
Clik here to view.
I went back in with my knife and trimmed off some of the excess white chocolate when I was done.
You’ll end up with a finished product that tastes like it came straight from the factory! They look great too, so they’re perfect for party favors and last-minute gifts. If you’re making these ahead of time, I recommend that you store them in an airtight container; otherwise, the chocolate can get a little warped.
I can’t wait to make these when I go away to college. After all, everyone needs to take a study break once in a while and with these, taking a break has never been so tasty!
For even more great chocolate and copycat desserts, visit www.MrFood.com. But before you go, I want to know…
What’s your favorite chocolate candy?
Stay tuned next week when I show you how to make ANOTHER great copycat candy recipe!